How to Plant a Cedar Tree

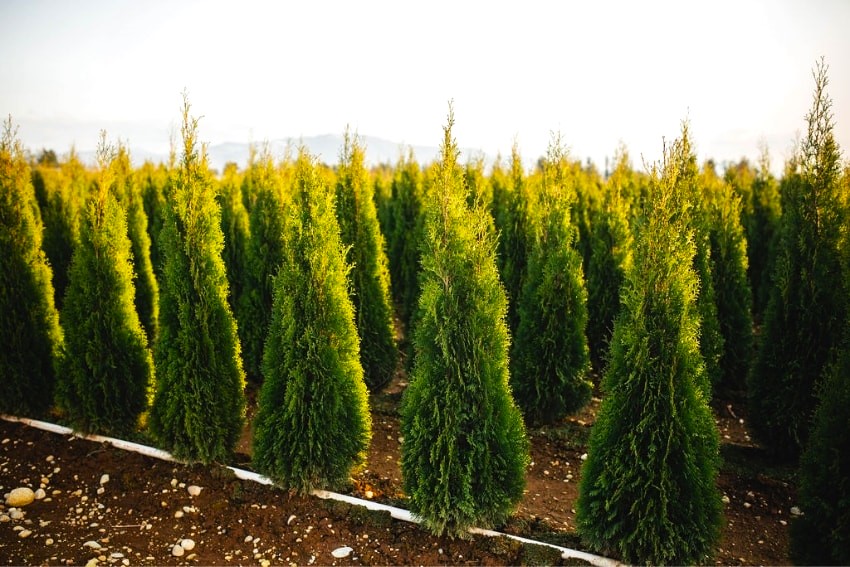
Beautiful ornamentals, cedar trees can reach heights of 50 or 60 feet (15–18 meters). This makes transplanting a mature cedar tree difficult. It’s important for anyone considering cedar tree transplanting to understand when and how to relocate a cedar tree. For more details, continue reading.
Transplanting Cedar Trees
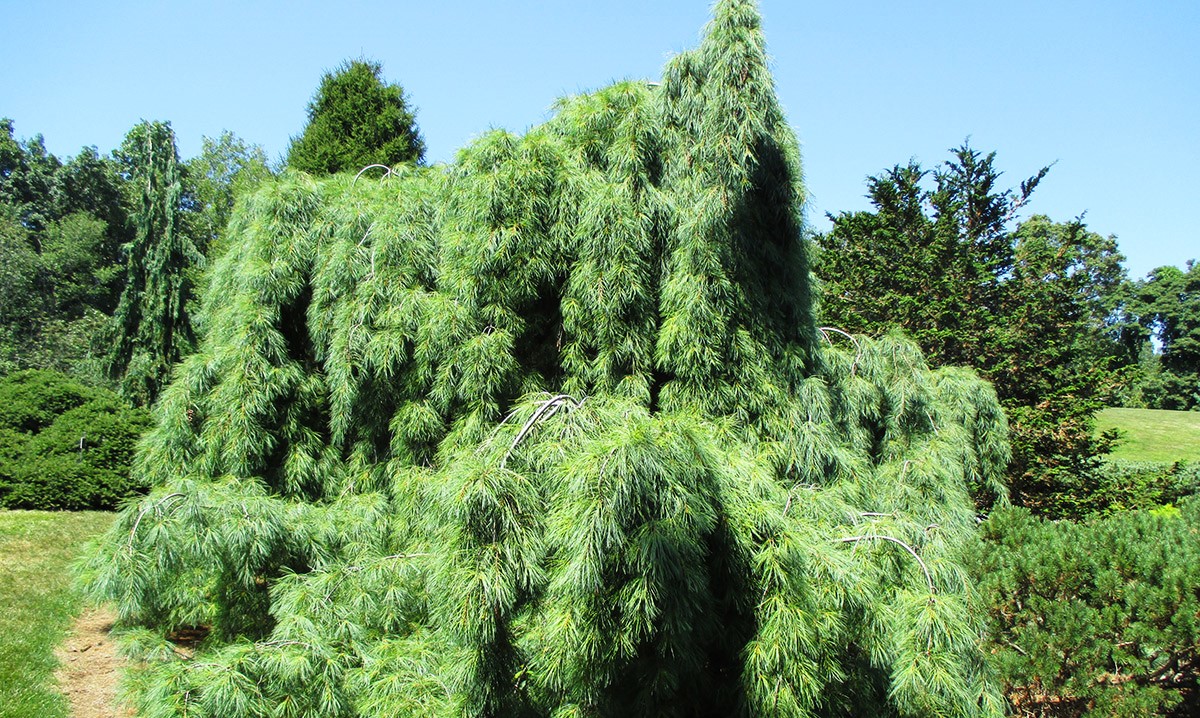
There are various species of cedar. Deodar cedar (Cedrus deodara), one of the most elegant conifers, and Atlas cedar (Cedrus atlantica), which has a 150-year lifespan, are two of the most well-liked ornamental cedars. In cultivation, the former reaches a height of 50 feet (15 meters), while the Atlas cedar reaches a height of 60 feet (18 meters).
You might be unsure of what to do if a cedar in your backyard has gotten too big for its location. Can a cedar tree be moved?
A cedar’s transplanting difficulty varies depending on several factors, such as the species and age of the tree. Transplanting a younger tree is far simpler than an older one. Furthermore, moving a Deodar is easier than moving an Atlas cedar.
When should cedar trees be planted?
What time of year is ideal for cedar tree transplanting? All cedar trees, regardless of species or age, respond best to spring or fall transplanting. Any tree should be transplanted ideally when it is dormant, but preferably at least six to eight weeks before a period of stress that is predicted, such as intense summer heat or bitterly cold winter weather.
Evergreens, like cedars, lose water through their leaves throughout the winter. If they are moved well ahead of winter, so they can form new roots before the ground freezes, they will have a better chance of surviving. Spring is the ideal time to transplant most evergreens.
How Can a Large Cedar Be Transplanted?
While large tree transplanting is a difficult task, it is not insurmountable. Starting early and being aware of the steps before you start is the best course of action.
Make preparations in advance to give your cedar the best chance of surviving the move. Giving your tree a fighting chance during a transplant is accomplished through root-pruning, which requires advance planning—at least one season. Make the root ball as big as you can by excavating a trench around it with a sharp spade several months prior to the transplant date.
Water the soil around the root zone thoroughly as the transplant day draws near. After a few days, carefully excavate the trench while preserving the root ball. For the move, wrap the root ball in burlap and fasten it with twine.
Before the transplant day, prepare the planting hole. Make it at least twice as wide and as deep as the root ball. To ensure that the tree stands in the hole with its top just above ground, add a layer of soil.
In the transplant hole, position the tree upright. After that, cut the twine off of the root ball and remove as much of the burlap as you can. To eliminate any air pockets, backfill the area beneath and surrounding the root ball. Fill the hole to the brim with additional earth and water gradually.
Never add anything to the soil to improve it, not even compost or peat moss. Instead, backfill with the earth that was removed. For at least a year, refrain from fertilizing the plant; instead, keep the root ball moist to promote root growth.


